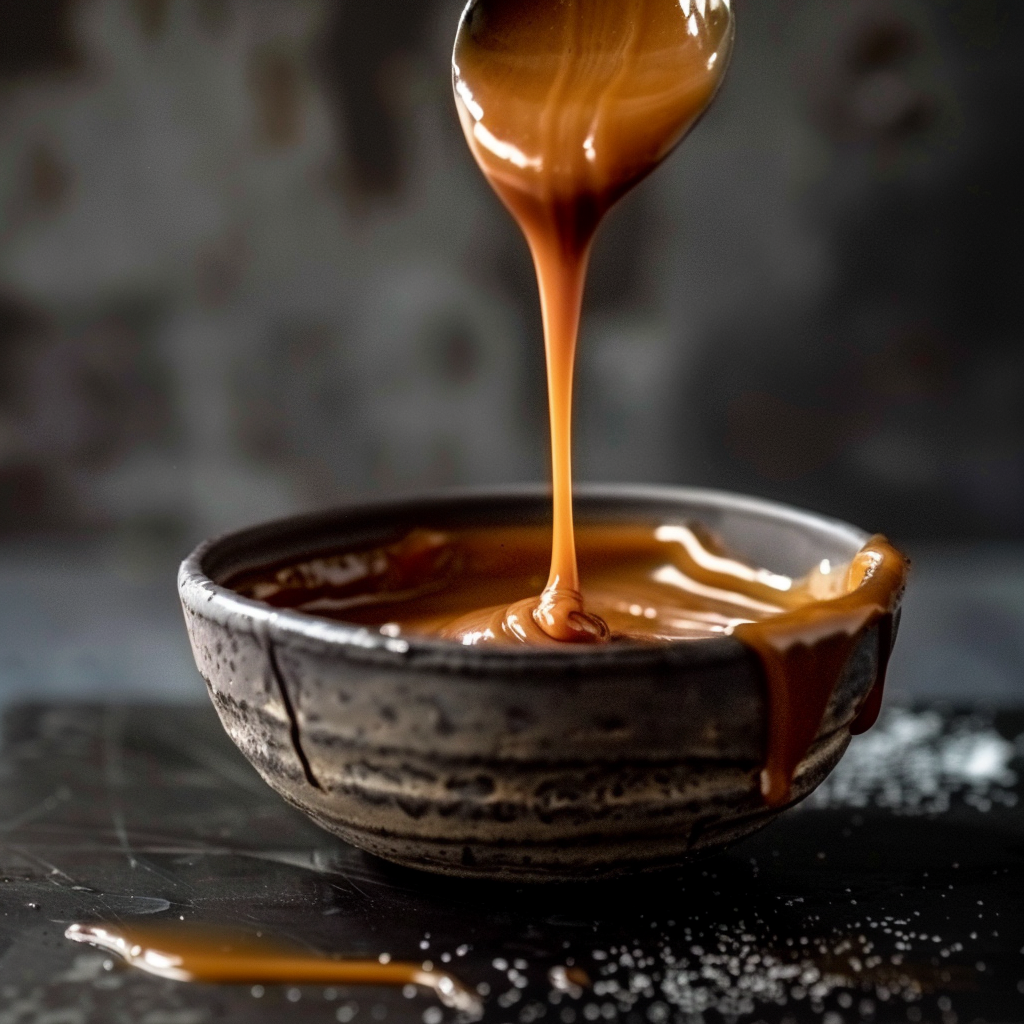
Imagine the rich aroma of caramel wafting through your kitchen, the golden hue of liquid gold cascading over your favorite desserts. Homemade caramel sauce is more than just a topping – it’s a decadent indulgence, a culinary masterpiece waiting to be savored. In today’s blog post, we’re embarking on a journey to create our own caramel sauce from scratch. Get ready to stir, swirl, and savor as we unlock the secrets to crafting this sweet sensation right in your own kitchen. Let’s dive in and awaken your inner caramel connoisseur!
Ingredients:
- 1 cup granulated sugar
- 6 tablespoons unsalted butter, cut into pieces
- 1/2 cup heavy cream
- 1 teaspoon pure vanilla extract
- Pinch of salt
Instructions:
Heat Things Up: Grab a heavy-bottomed saucepan and place it over medium heat. Sprinkle the granulated sugar evenly across the bottom of the pan and let it sit, undisturbed, until it begins to melt around the edges.
Swirl, Baby, Swirl: Once the sugar starts to melt, grab a heatproof spatula and gently swirl the pan to help distribute the sugar and promote even melting. Be patient, my friend – caramelization is a delicate dance that requires finesse and patience.
Keep a Close Eye: As the sugar continues to melt and darken, keep a close eye on it. We’re aiming for a deep amber color – think rich, golden caramel. But beware, there’s a fine line between perfectly caramelized and burnt to a crisp. Don’t let it out of your sight!
Butter Me Up: Once your caramel reaches the desired amber hue, it’s time to add the butter. Carefully drop the butter pieces into the pan, stirring continuously until they’re fully melted and incorporated into the caramel.
Creamy Dream: Next up, it’s time to add the heavy cream. Slowly pour the cream into the pan while stirring constantly. Be prepared for some sizzling and bubbling – that’s just the magic of caramel coming to life!
Flavor Explosion: Remove the pan from the heat and stir in the vanilla extract and a pinch of salt. These flavor enhancers will take your caramel sauce from good to absolutely irresistible. Give it a taste and adjust the salt to your liking.
Cool, Calm, and Collected: Allow your homemade caramel sauce to cool slightly before transferring it to a heatproof container or jar. It will continue to thicken as it cools, so don’t worry if it seems a bit runny at first. Trust me, it’ll be worth the wait!
Congratulations, my fellow dessert enthusiast – you’ve just mastered the art of homemade caramel sauce! Whether you’re drizzling it over ice cream, dipping apple slices, or incorporating it into your favorite baked goods, this decadent confection is sure to elevate any sweet treat to new heights of deliciousness. So go ahead, get saucy, and let your creativity run wild. Dessert is served – and it’s absolutely divine!
